Introduction to the Spatial Toolbox
The Spatial Toolbox View gives the possibility to execute tools from loaded libraries on resources visualized in uDig.
Related reference
Here is an example of the spatial toolbox in action:
Before you Start
Download the Spearfish example data
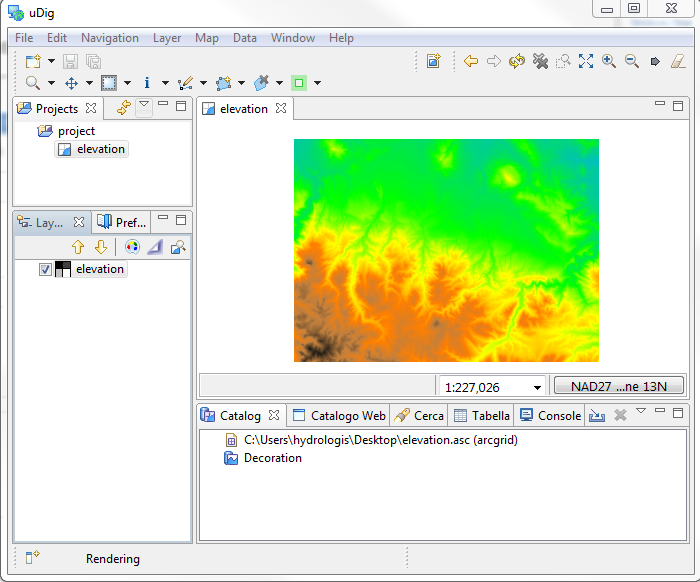
In the example we will use a raster elevation model of the Spearfish region.
Download the following file (you can right click and choose Save as in most browsers):
Unzip it to your data directory or desktop
This download contains:
- elevation.asc
- elevation.prj
Try to drag it into uDig to visualy confirm height data looking like the following.
Tip
You can use the Style Editor to fill in a color map for the raw elevation data
The Spatial toolbox View
Once your raster is loaded you are ready to start to configure the spatial toolbox. First let’s open it up:
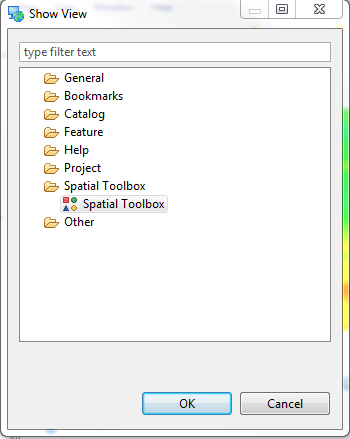
Find it under Window ‣ Show View ‣ Other...
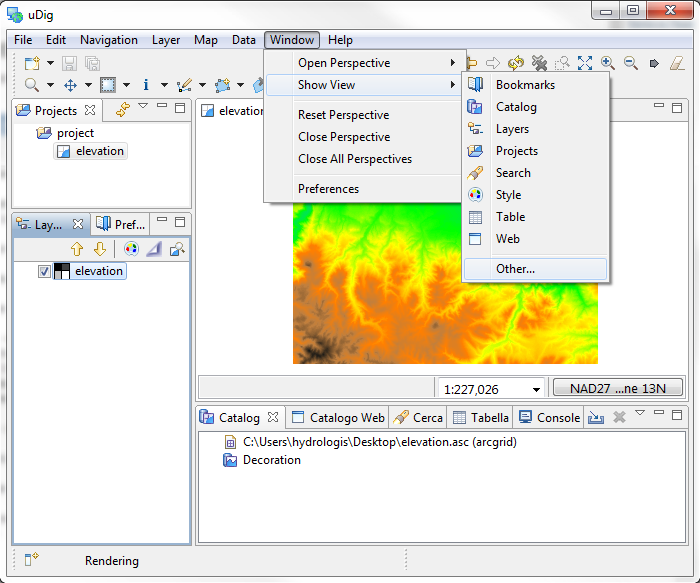
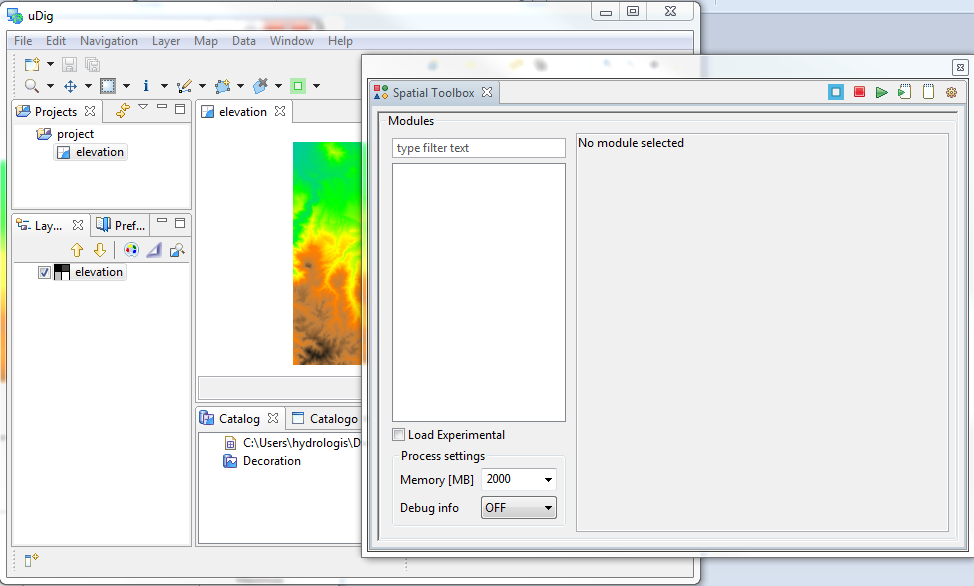
And then choose the Spatial toolbox:
It will probably open up a bit too small, so best thing is to detach it and use it in a separate window anyways.
To do so right click on the view’s bar:
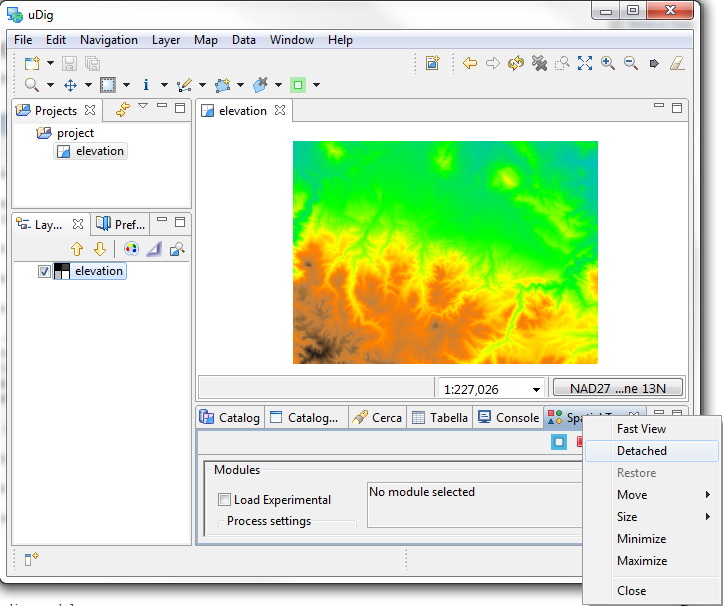
And voila’!
Installing JGrasstools
The spatial toolbox is able to load and generate graphical user interfaces and link together models that are developed as OMS3 services.
Note
OMS3
Object Modeling Services 3 is a standard used for component development employed by the jgrass project. If you are interested in the details please have a look here:
To load the modules:
Currently one library of spatial tools implemented using OMS3 is the jgrasstools library.
Therefore it is possible to jump on the jgrass website to get a processing library to use it in uDig.
To start to have some fun we need to download several jar files.
At the time of writing the jgrass 0.7.2 is being packaged for your use.
- the generic GIS modules library
- the horton machine for hydro-geomophologic analyses
You can download these files anywhere; for today we will be placing them in a “jgrass” folder in your home directory.
Create a “jgrass” folder in your home directory
Download the above files and place them in the jgrass folder
Then push the Settings Panel icon on the toolbar (the last icon at the end).
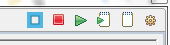
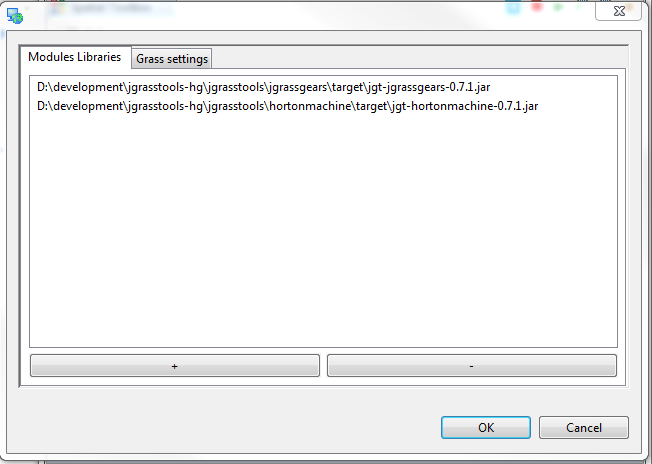
Which will open the settings dialog:
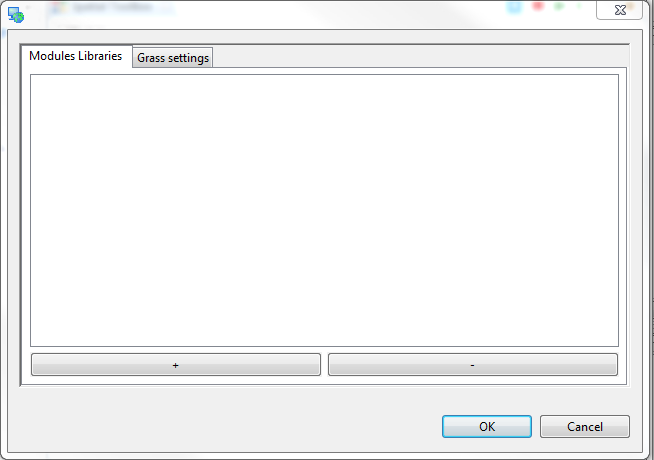
The settings dialog allows you to load the libraries by using the + button.
Load the two libraries that you downloaded.
It should, apart of the different paths of the files, like like the following:
Once you push the ok button, uDig will search for modules inside the library
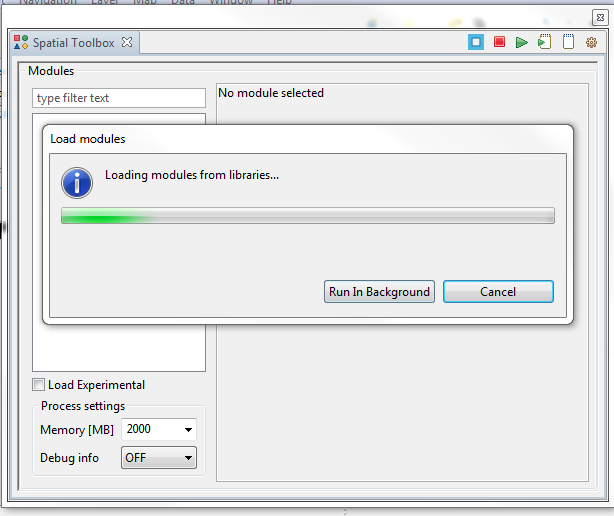
Congratulations; the toolbox should now display the modules that were found
Processing
The jgrass project provides a host of valuable processes you can try out; for now we will start with a simple example.
Generating Aspect of an Elevation Model
To try out spatial processing we will simply create a map of aspect using the elevation model you already loaded from the sample dataset.
Type in the search box the letters: asp
The “Aspect” module should appear in the list:
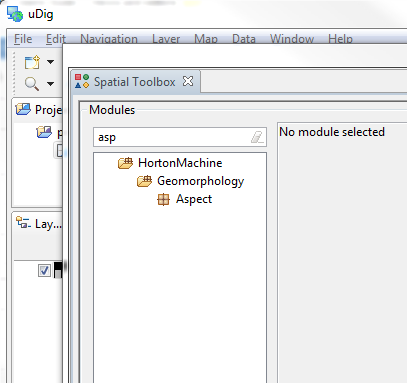
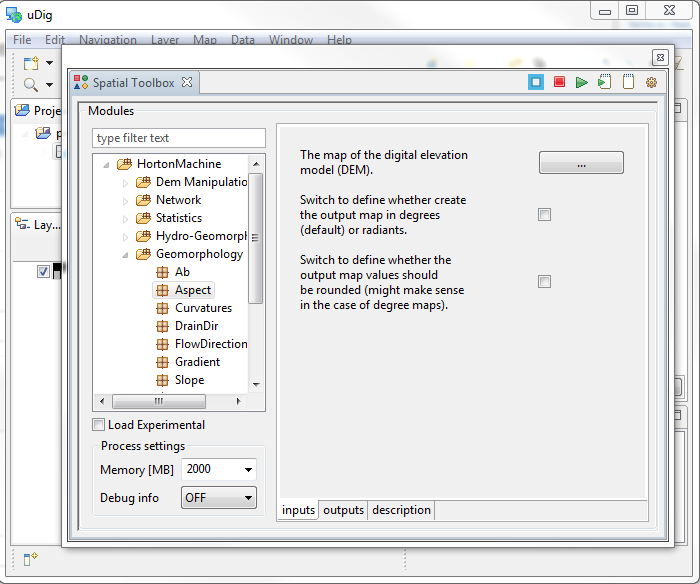
Please select the Aspect module.
Each module provides two tabs:
- inputs tab: used to fill in the information required to run
- description tab: details and background on the module.
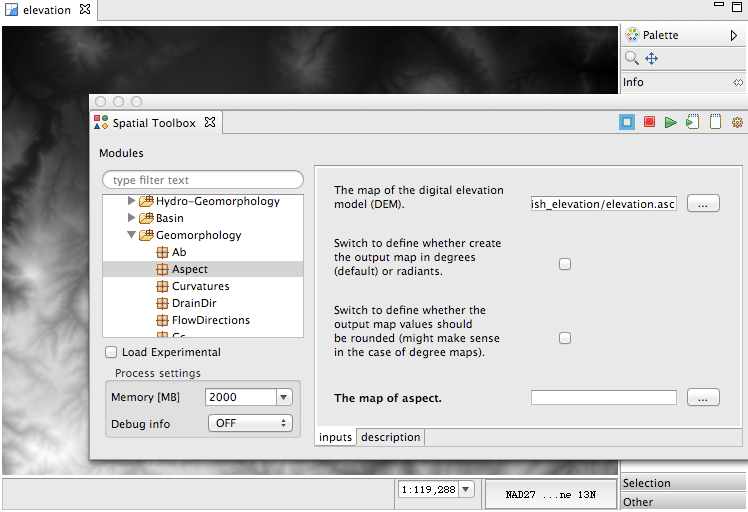
We will now set up the Aspect service to work with our sample digital elevation model.
To define the input raster to process, we need to fill in The map of the digital elevation model (DEM):
The simplest thing is to drag aspect raster layer from the udig layer view into the textfield and let udig do the rest.
..note: To browse the file system use the ... button to open a file dialog.
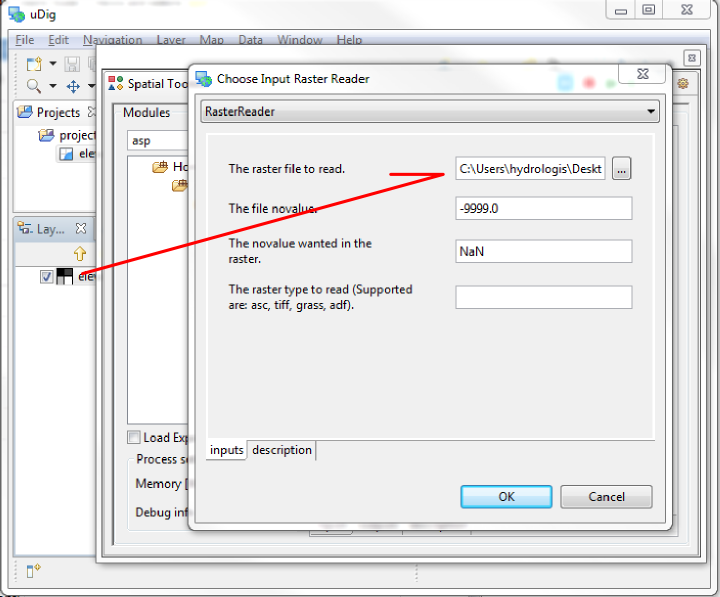
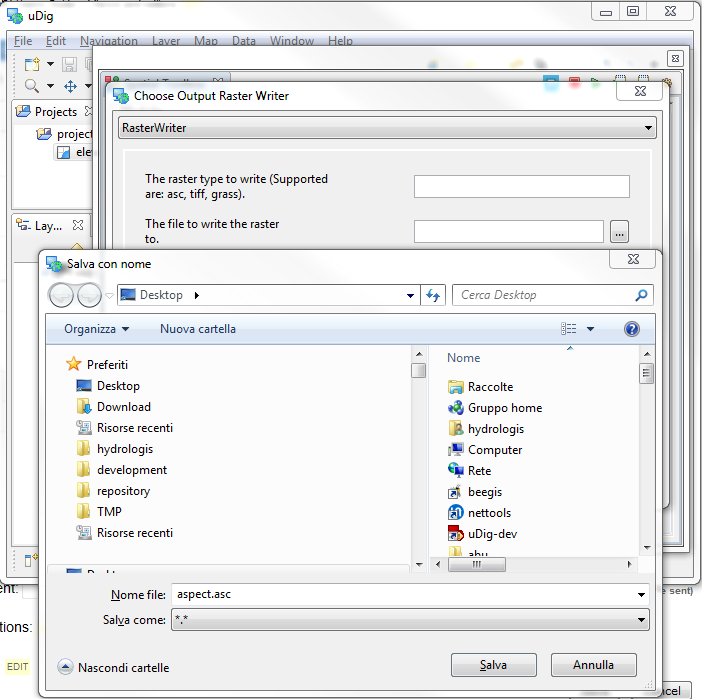
Next we can provide the path for the generated file.
This time we can not drag an existing raster (as we have not created it yet) so we will have to use the ... button to browse. The button will open in the same folder of the last inserted raster and allow us to supply a filename.
Type in the filename aspect.asc to create an esri ascii also as output.
Before we run the module there are a couple of configuration options that are useful to control.
The most important is the amount of memory that we permit the module to use:
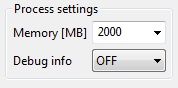
In the above example the local machine has 8 gigabytes of RAM, allowing us to easily allocate 2000 megabytes for for the work.
Please set an appropriate value your your machine.
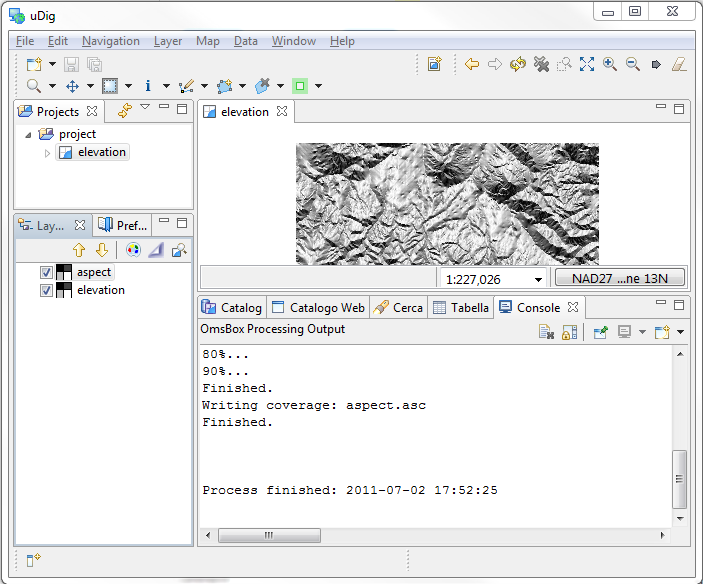
To execute the module please click the run button in the view toolbar

The module will execute opening a console window that gives feedback on what is going on.
Once the process is done, the resulting map is loaded in the map window
Things to Try
Congratulations on finishing this tutorials; here are a couple of things to try:
- Review the documentation of some of the other services made available
- Check out the jgrass website for additional information about the project